Row Sashing |
Videos and helpful resourcesCutting Long Pieces
The long sashing strips go between the rows. Again you need to cut these to the correct size to avoid distortion. To measure longer strips I fold the strip over so I can use the cutting mat. So if the sashing strip is 66½" then I can start at the 0 mark on the mat and then fold over at the 33¼" mark on my mat and then cut any extra off at the 0 mark. 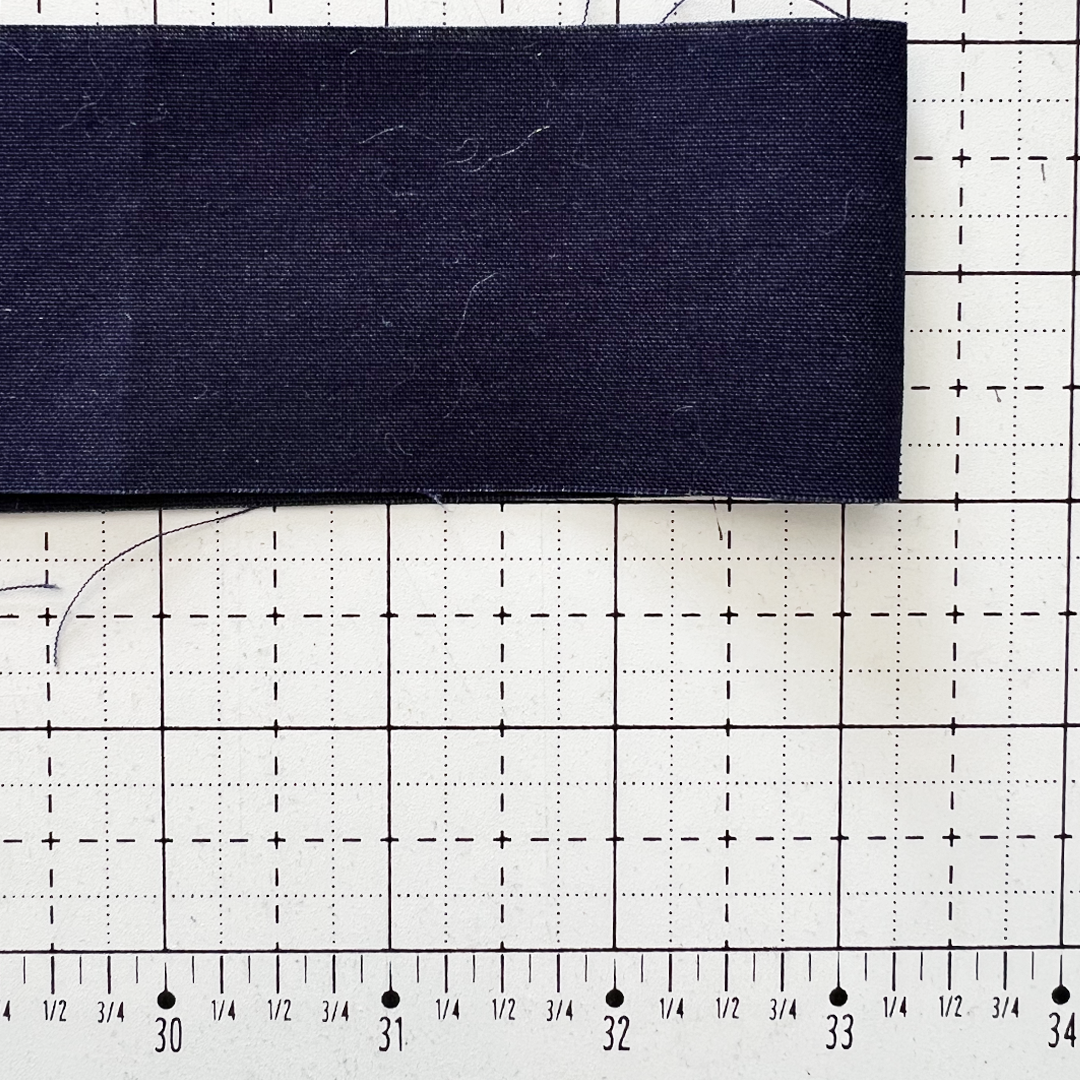
|
|
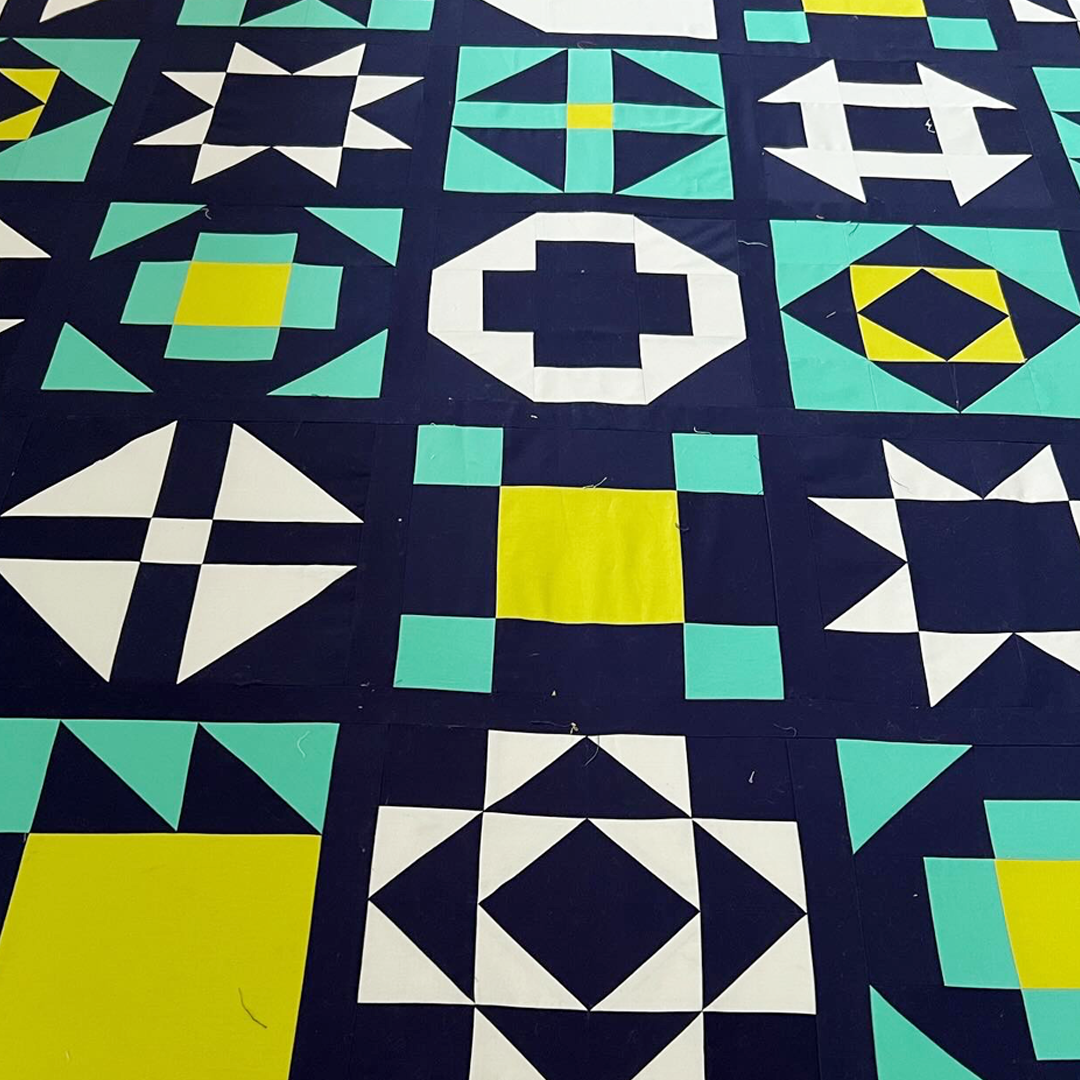
This week we are adding the sashing to complete the quilt top. Start by laying out your blocks following the quilt layout and then work row by row.
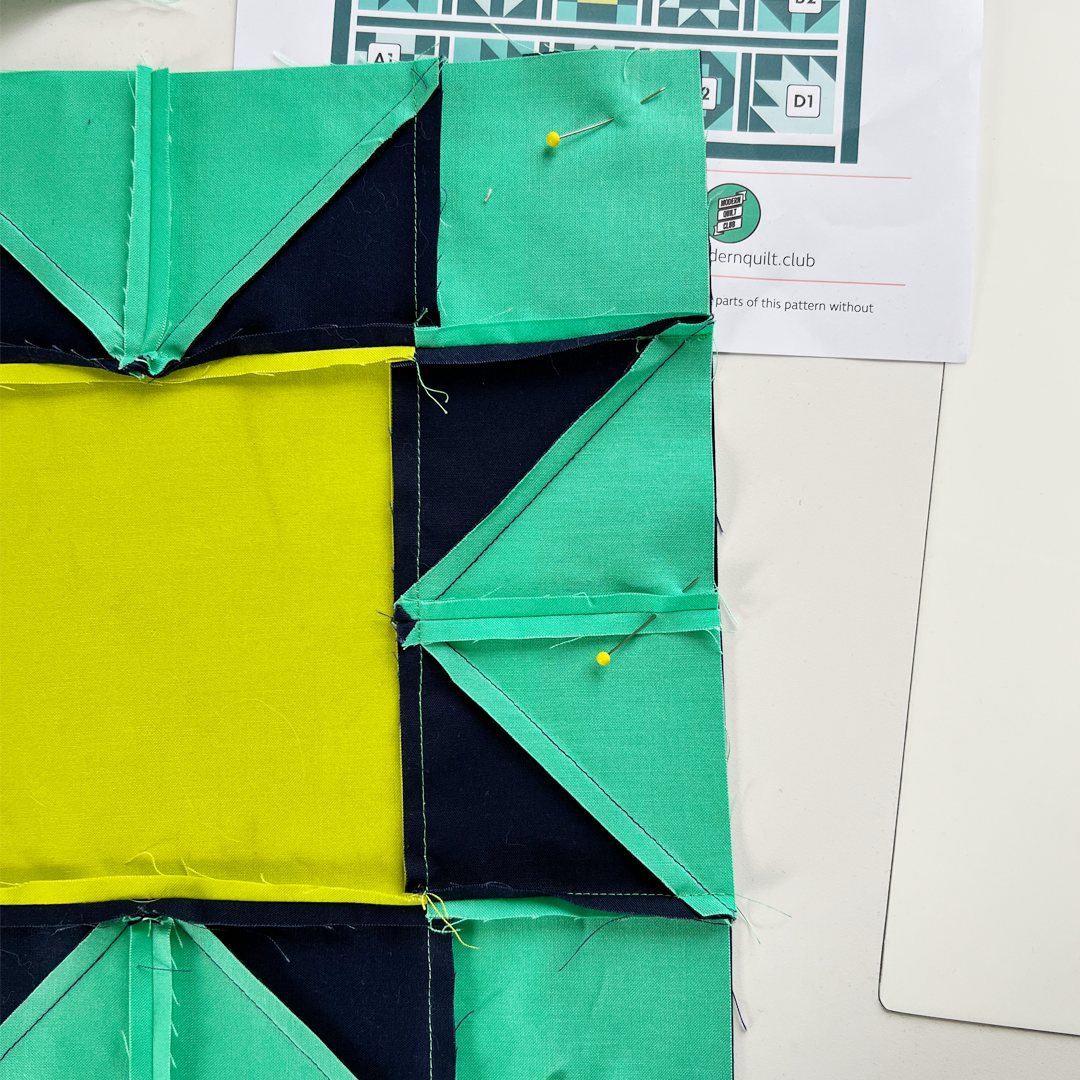
Cut your smaller sashing strips first and sew them in-between the blocks. It is tempting to sew a strip a bit bigger and then trim to size, but this can lead to a stretched quilt. So cut to the correct size (12½"). Use a pin at the beginning and end of the each strip and in the middle, this way you know it will fit. TIP: When sewing the sashing sew with the block on top, this way you can see the points of the block and make sure you don't sew through the points. |
Long sashing
|
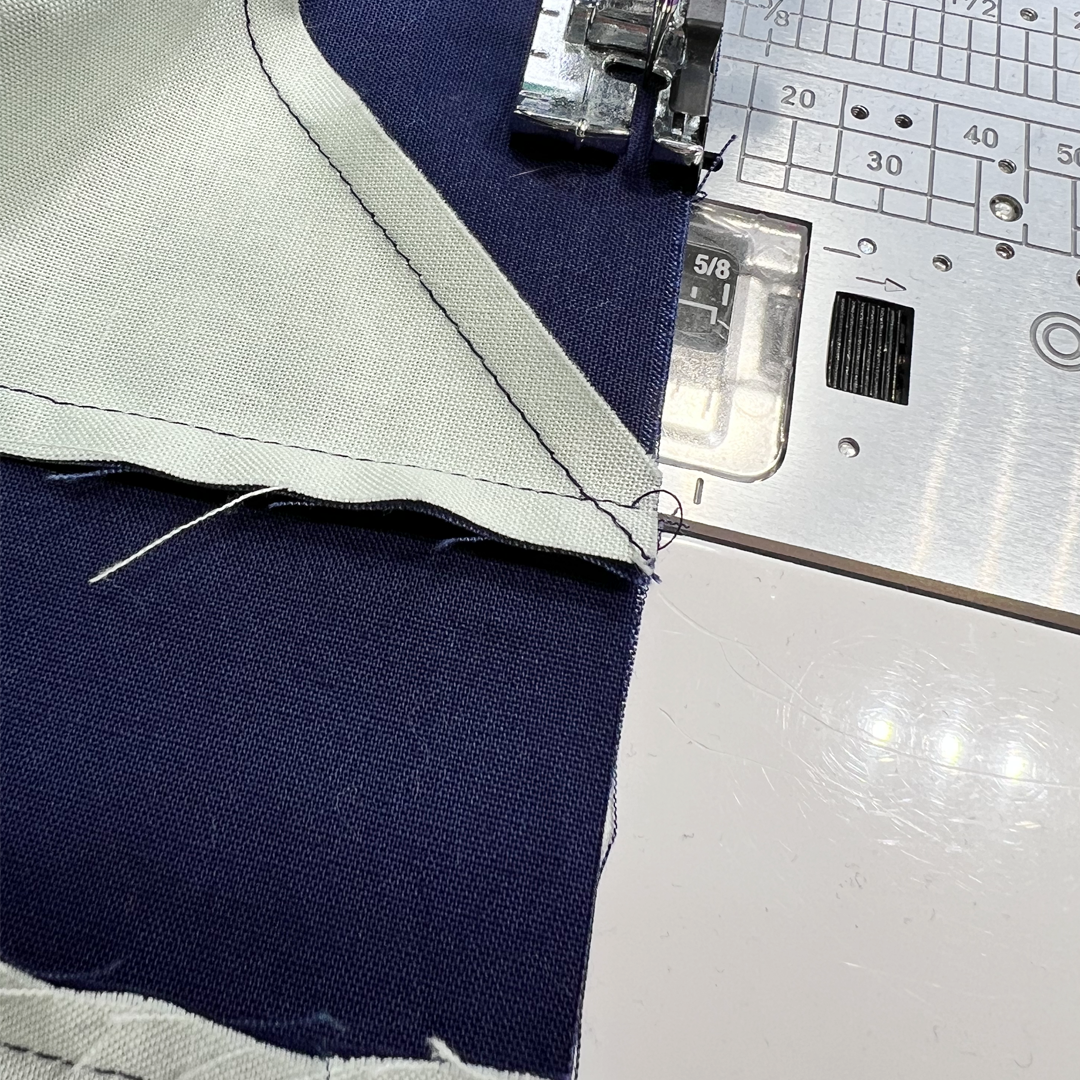
When sewing in your sashing make sure you mark the centre point of the strip and line up with the centre of the row. You will want to pin at the centre and quarter points as a minimum.
When sewing the second row to the sashing strip make marks on the sashing strip where the short sashing seams are on the first row, this will help to line up your quilt top. The borders are the last to be sewn on and in the same way cut them to the exact size and then mark the centre and pin along the edges. |
|
Join us for our last Zoom for quilting ideas and finishing the quilt.
Remember to post your photos using the #signalquiltalong and tag me @paulasteel.quilts and Lisa @modernquiltclub so we can share in your achievements and spread the encouragement. I hope you've enjoyed the FPP HSTs, they are great for quick piecing. Remember to check back next week for week 7 and the last blocks. |