|
Videos and helpful resources
If you are new to cutting out fabric, then read the tips below. There is also a video I made about cutting strips for a previous sew along that will talk you through the basics.
|
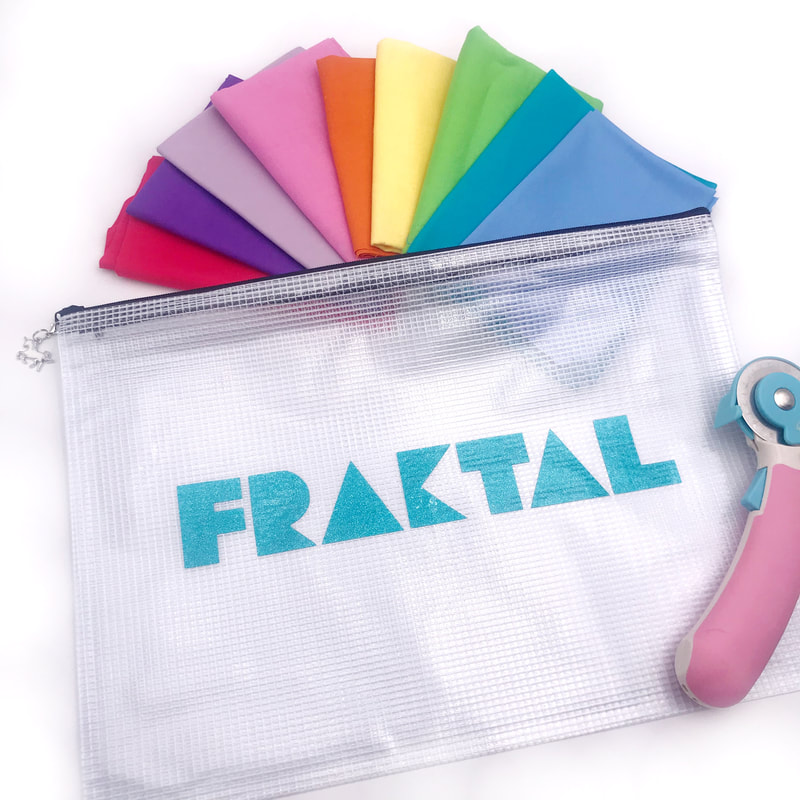
Getting Organised
For the Fraktal pattern it is really important to get your rainbow fabrics in the correct order. If you are using the Phosphor fabric from the kit then you will find the fabric key on the inside cover of the pattern. Use this to label them from A to L.
If you are using different fabrics then you will need to order them in rainbow order then label them. Starting with the red(est) fabric and ending with the pink label them A toL
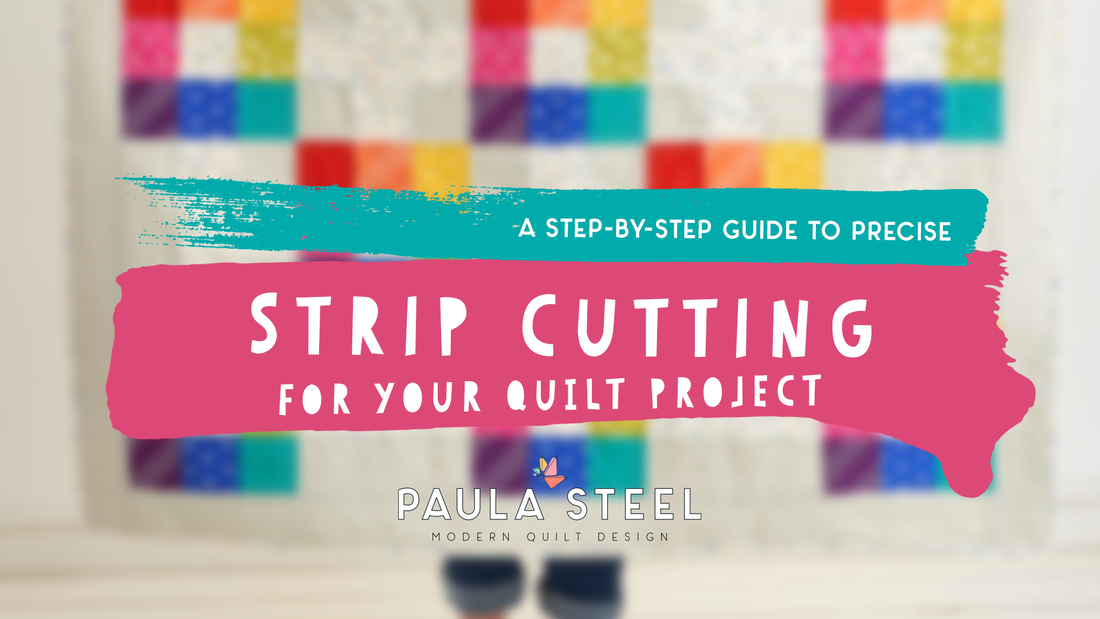
Cutting Out
OK so let's get cutting out. If you've managed to leave your fabric intact and have just been stroking it, then now is the time to pick up the rotary cutter and get going. The pattern page for cutting out lists all of the pieces you need and simply work your way down the list. For the background fabric there are quite a few strips to cut that then get sub-cut into various squares or rectangles. If you are new to following patterns then let me explain.
The following is the first background cutting instruction:
What this means - You need to cut four strips from the full width of the fabric (selvedge to selvedge) that are 2" tall. Once you have your four strips then cut each strip into 2" squares. You will then have a total of 64 squares (16 from each of the four strips).
TIP - When cutting from a full width I tend to leave it folded in half so that my long ruler will reach all the way across. Before the first cut I will straighten out my fabric by trimming it, by taking the tiniest of amounts off.
OK so let's get cutting out. If you've managed to leave your fabric intact and have just been stroking it, then now is the time to pick up the rotary cutter and get going. The pattern page for cutting out lists all of the pieces you need and simply work your way down the list. For the background fabric there are quite a few strips to cut that then get sub-cut into various squares or rectangles. If you are new to following patterns then let me explain.
The following is the first background cutting instruction:
- (4x) 2" WOF strips, sub-cut each into;
- (x16) 2" squares (total 64)
What this means - You need to cut four strips from the full width of the fabric (selvedge to selvedge) that are 2" tall. Once you have your four strips then cut each strip into 2" squares. You will then have a total of 64 squares (16 from each of the four strips).
TIP - When cutting from a full width I tend to leave it folded in half so that my long ruler will reach all the way across. Before the first cut I will straighten out my fabric by trimming it, by taking the tiniest of amounts off.
|
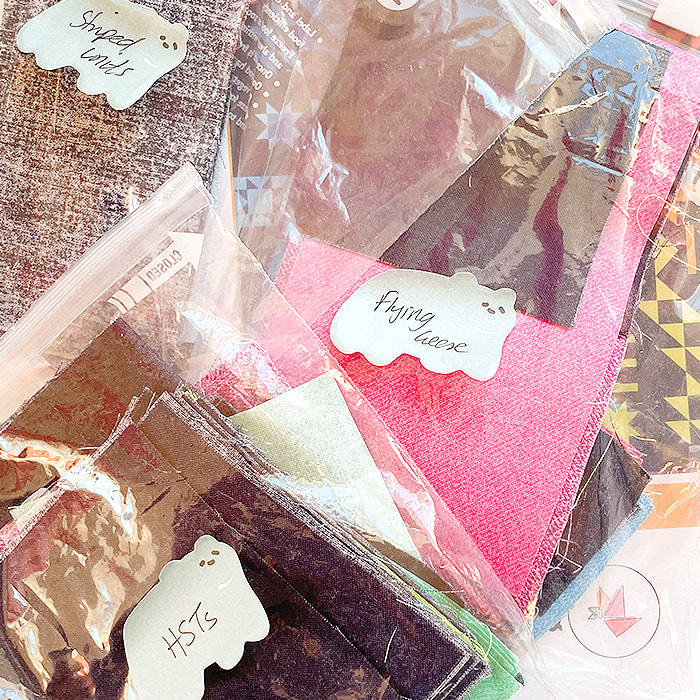
How do I stay organised?
I'm a big fan of trying to be organised, it doesn't always stay that way once I start sewing, but I do start with the best of intentions. Once I've cut out I create piles of pieces for each task, so I'll have:
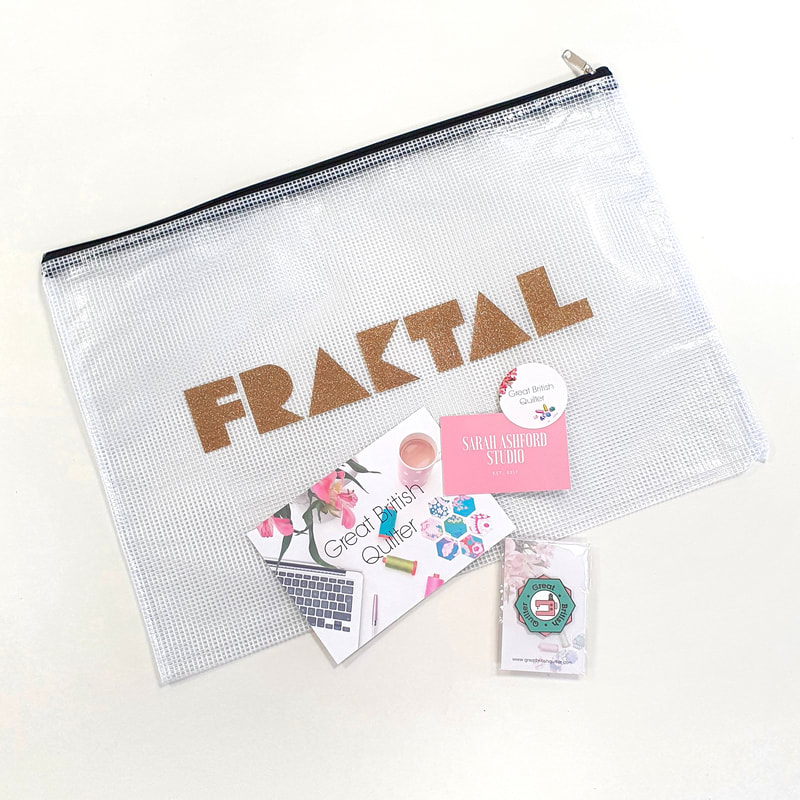
I then make use of all of those plastic bags that are lying around. I wouldn't suggest buying new ones, but I seem to end up with a stash to re-use and I keep them in a box in my sewing room. I pop each pile in a bag and add a little post it note so I know what they are. Once I've made all of the units, like HST's & Flying Geese I will then re-organise my bags so that there is one for each block. I'm also a huge fan of the Sarah Ashford project pouches (I have many), they are great for keeping all of the project bits and pieces together. You can order one from Sarah's Etsy shop - www.etsy.com/uk/shop/SarahAshfordStudio |
|
We also have two pouches to give away this week as prizes, along with Sarah's gorgeous pin badges for the Great British Quilter; so make sure you get those photos on Instagram and tag us to be in with a chance of winning one.
Remember to post your photos using the #FraktalSAL and tag me @paulasteel.quilts and Lisa @modernquiltclub so we can share in your achievements and enter you into the prize draw. Good luck with all of the cutting, I know for me it's the most patience testing part :) And check back next week for week 2! |
|