
|
Videos and helpful resourcesTIP - Make sure to backstitch at the start and end of each strip, in the striped block. This stops the strips from coming apart whilst you are handling them.
|
|
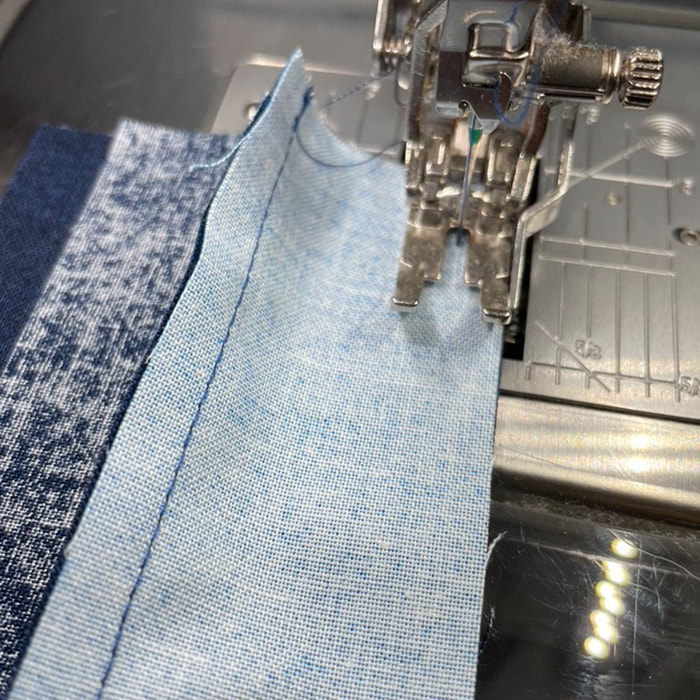
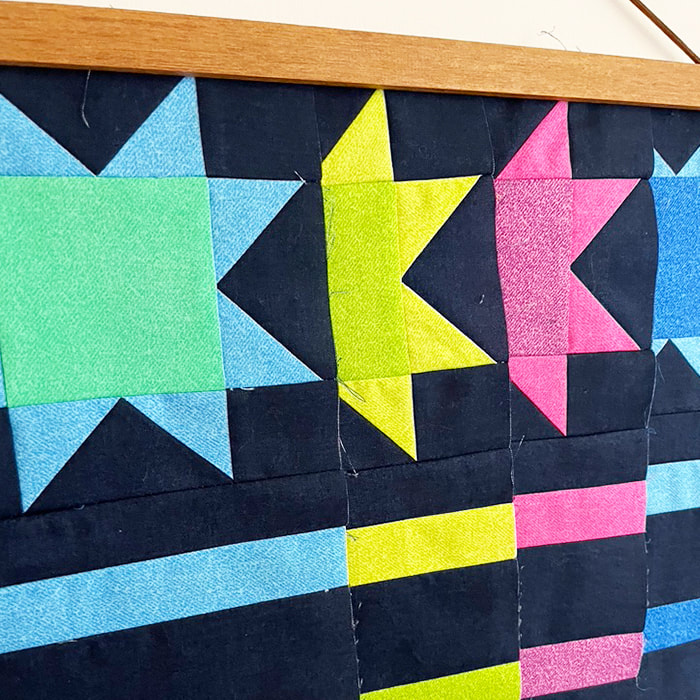
Sewing Stripes
Yay! this week we'll be starting to sew some actual blocks together, fist we need to get the pieces ready. They are nice and easy this week and we'll be starting with some simple stripes. Get together your pieces for the stripes and then simply sew them together along the long edge. TIP - To keep the stripes nice and straight sew each strip from a different end. e.g. Sew pieces one and two together from the left side and then sew the next strip from the right. |
|
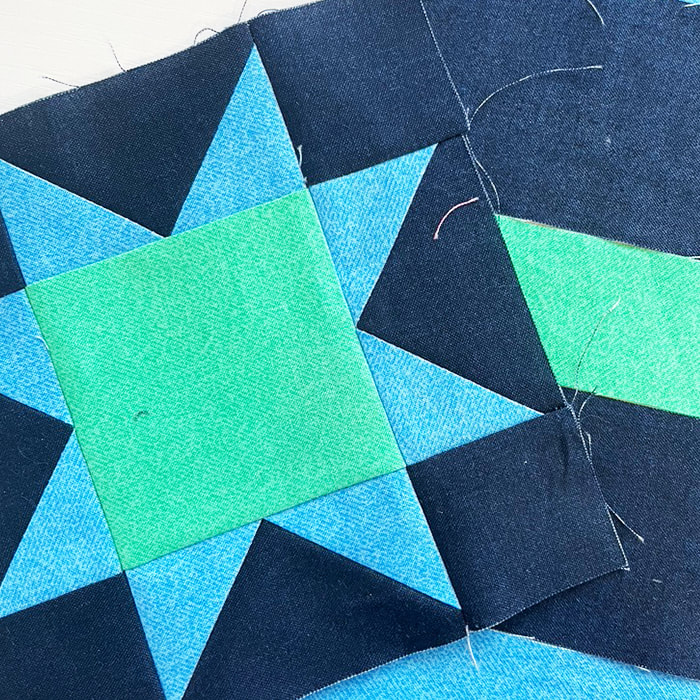
Stars
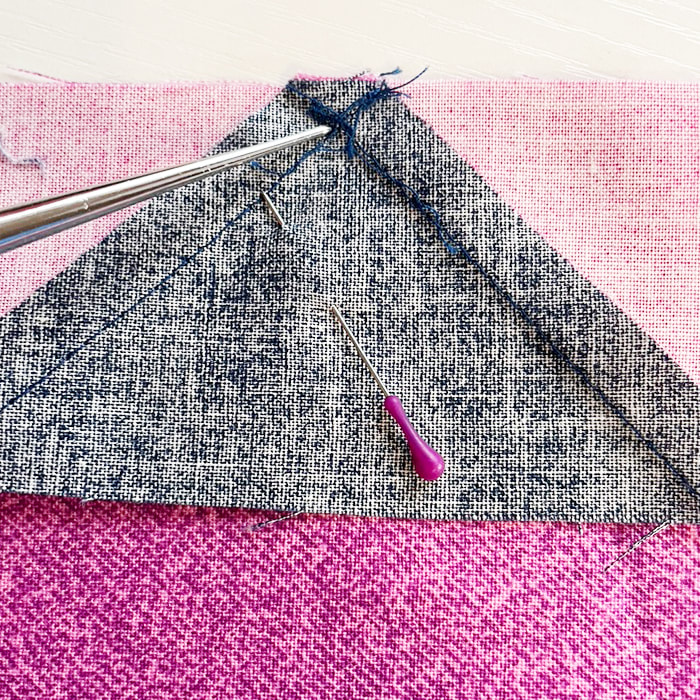
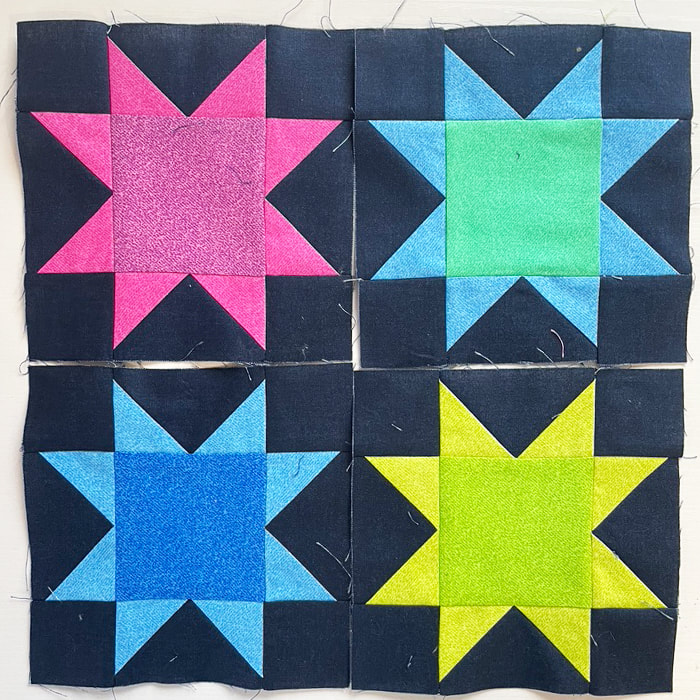
Using the small Flying Geese from last week, sew the stars together. When sewing the Flying Geese around the centre square keep your eye on the cross over point so you don't chop that point off (see tip below). Blocks Once the stars and striped pieces are made, you simply sew them together and then add the large Flying geese were needed. TIP - On the back of the Flying Geese block you can see a cross where the two stitching lines cross over. This should be ¼" from the edge, so when you sew the Flying Geese to another block the stitching line should go straight through this point. |
|
|
|
Good luck getting these all ready, we'll carry on making blocks next week which is really exciting.
Remember to post your photos using the #FraktalSAL and tag me @paulasteel.quilts and Lisa @modernquiltclub so we can share in your achievements. And check back next week for week 4!
Remember to post your photos using the #FraktalSAL and tag me @paulasteel.quilts and Lisa @modernquiltclub so we can share in your achievements. And check back next week for week 4!