|
Dots & Dashes
We're piecing some simple blocks this week, ready for making the large corner sections next week. Strips For the larger strip pieces using fabric Q it's tempting to make them larger and cut to size, however, resist this temptation. When sewing long strips together it is easy to accidently stretch the fabric, so cutting the correct lengths and the pinning the ends and middle is a good way to avoid this. TIP - To keep the stripes nice and straight sew each strip from a different end. e.g. Sew pieces one and two together from the left side and then sew the next strip from the right. |
|
Dots and Cross Blocks
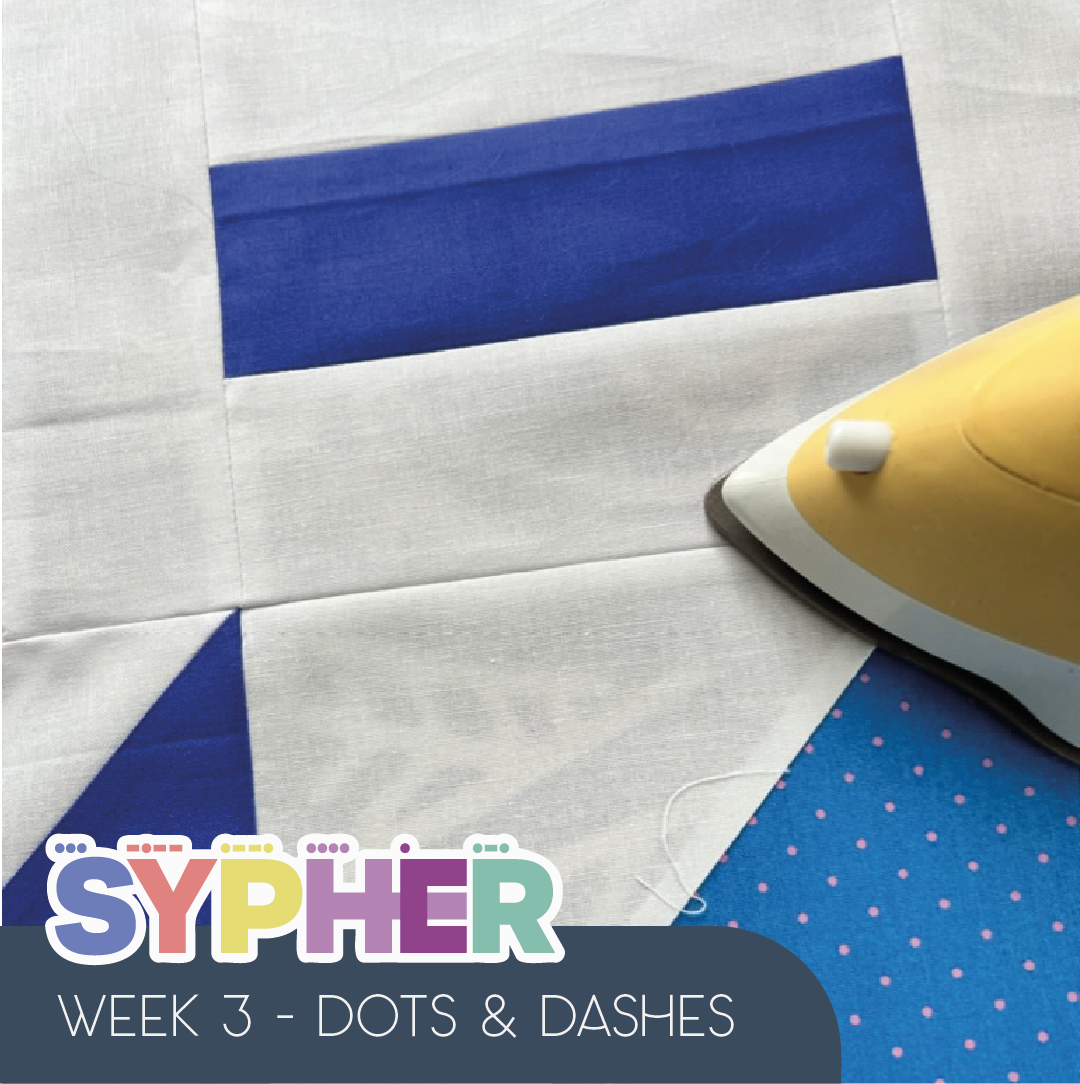
The Dots and Cross blocks are really simple nine patches. You can choose whether to press your seams open or nest them. With a lighter background fabric I would suggest pressing the seams open as you want to avoid pressing both seams under the light fabric. If you have a darker background the seams won't show so you can nest away happily. Nesting Seams -To nest a seam you press row 1 and row 3 seams to the left and press row 2 seams to the right. When you come to sew the rows together you will find that the seams are facing opposite directions so not together nicely. |
Have fun sewing these nice simple blocks together and we'll see you next week when the quilt will start growing dramatically.
Remember to post your photos using the #SypherSAL and tag me @paulasteel.quilts and Lisa @modernquiltclub so we can share in your achievements. And check back next week for week 4!
Remember to post your photos using the #SypherSAL and tag me @paulasteel.quilts and Lisa @modernquiltclub so we can share in your achievements. And check back next week for week 4!


