WEEK TWO - Sewing time.
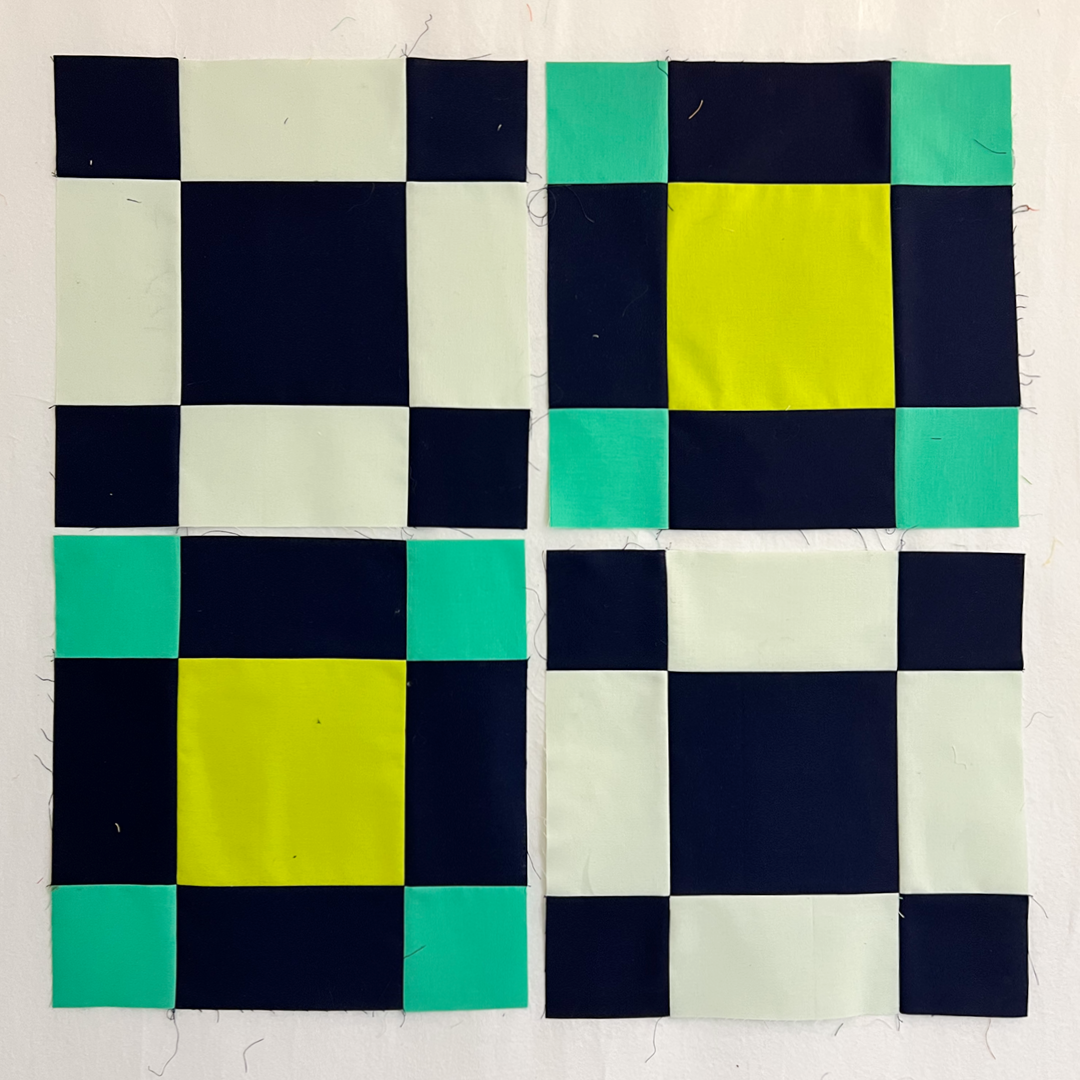
Hopefully you are all organised now and ready to do some sewing. We start off with a nice easy block this week, giving you a chance to perfect that ¼" seam.
Hopefully you are all organised now and ready to do some sewing. We start off with a nice easy block this week, giving you a chance to perfect that ¼" seam.
|
Testing your ¼" seam
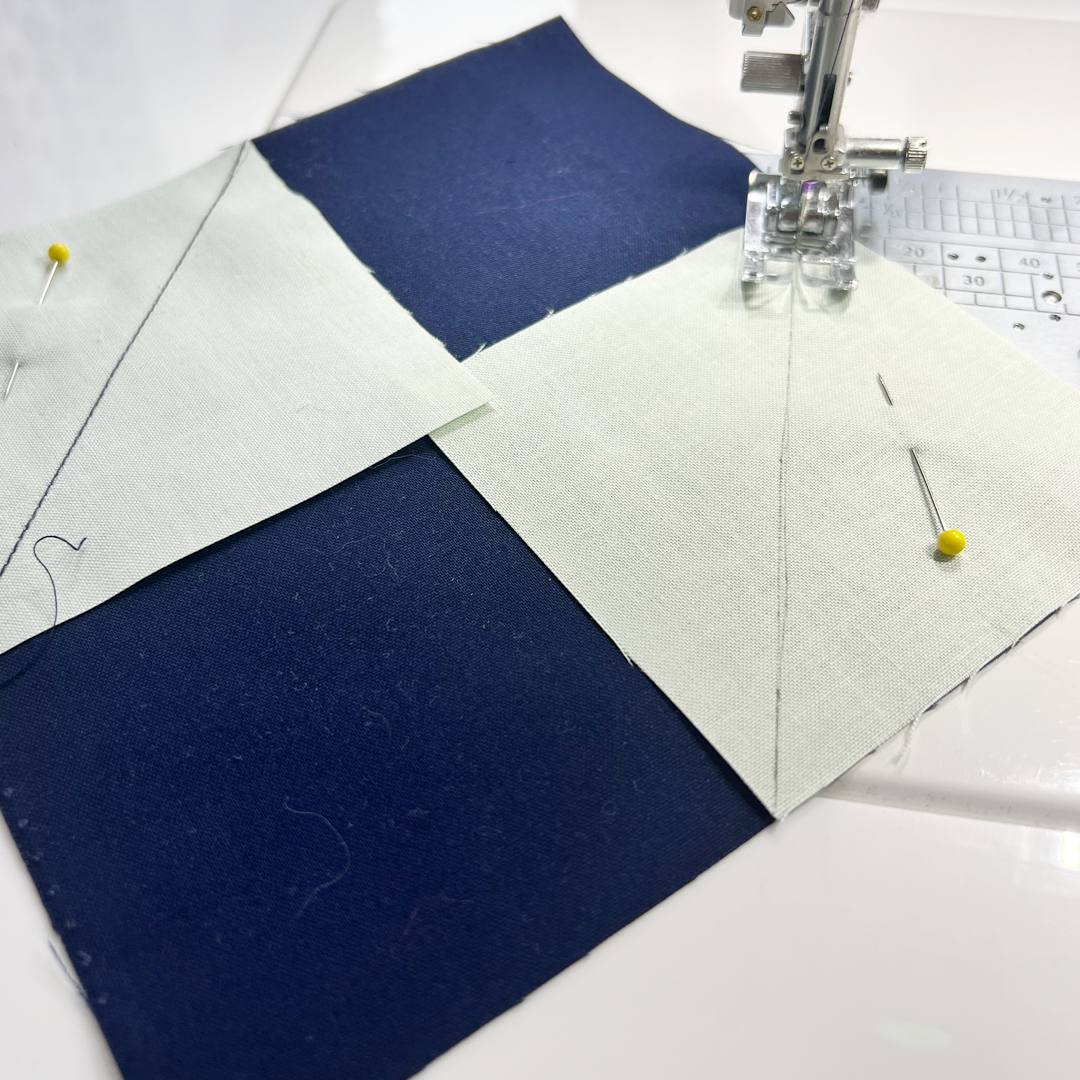
It's worth getting it right before you start. Cut yourself two (x2) 2 ¼" wide x 3" tall pieces of fabric from your scrap pile. Sew them together along the long edge and then gently press the seams open. The piece should now measure exactly 4" wide x 3" tall. If its larger your seam is too narrow, if it's smaller you seam is too wide. If your machine allows it you can move your needle over a little, or if not use a seam guide to mark where to place the fabric (I do both). Some machines come with these or you can purchase magnetic ones that attach to the side. If none of those are a good solution for you then a good piece of wash tape marking where to line up your fabric is a great solution. PRESSING Block A is ideal for pressing seams to the dark side and then nesting the seams. Nesting seams means that the seams go in opposite directions where they meet. this helps keep the seams flat and also really helps when lining up the seams. |
Remember to post your photos using the #signalquiltalong and tag me @paulasteel.quilts and Lisa @modernquiltclub so we can share in your achievements and spread the encouragement.
Good luck with all of the cutting, I know for me it's the most patience testing part :) And check back next week for week 3!
Good luck with all of the cutting, I know for me it's the most patience testing part :) And check back next week for week 3!


