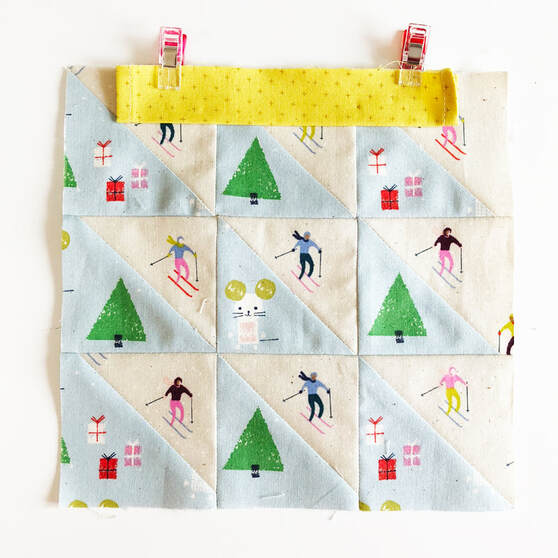
Fussy Cut Christmas Drawstring Bag
|
Fussy Cutting Half Square Triangles (HSTs)Fussy Cutting half square Triangles (HST’s) is really good fun and a great way to show off some of those adorable prints you have in your stash; like this drawstring bag I made for Quilt Now.
I find it easier to create myself a simple template first and then I can use this as a viewing window to get my motif just right. The tutorial will show you how to create your own template and then you can enjoy some super sweetness. |


|
Creating a Fussy Cut Template
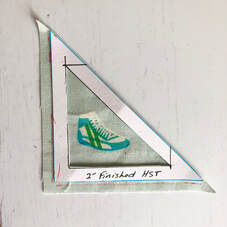
STEP 1 – Draw a square the same size as the finished Half Square Triangle, for this example I’m making a 2″ finished HST. (FIG 1)
STEP 2 – Using a darker pen draw a line across the square to create a triangle. (FIG 2) STEP 3 – Using a colour pen draw a line ¼” around the triangle (this is your seam allowance). (FIG 3) STEP 4 – Cut out the triangle along the colour line and then cut out the inner triangle, shaded area in (FIG 4) TIP – If you like to trim your HSTs (I do) then cut the long diagonal exactly but leave yourself an extra 1/8″ on the two straight sides. This means that you can trim once finished. |
|
STEP 5 – use this template as a viewing window to find the fussy cuts you would like.
STEP 6 – Once you have found your perfect cut, draw around the outside of the template and then cut. This is now one half of your HST. STEP 7 – Make another HST half and then, place the two matching triangles RST and sew 1/4″ along the long diagonal. Open up and iron and trim (if needed) to finish the HST. |
|