Quilting and Binding
|
Useful Links
|
Congratulations if you have now got your quilt top made up, we can now get on to the quilting and binding.
If you are an experienced quilter then it's as simple as basting, quilting and binding. If you are a beginner quilter then keep reading as there is lots of help for how to baste, quilt and bind.
If you are an experienced quilter then it's as simple as basting, quilting and binding. If you are a beginner quilter then keep reading as there is lots of help for how to baste, quilt and bind.
Basting Time
|
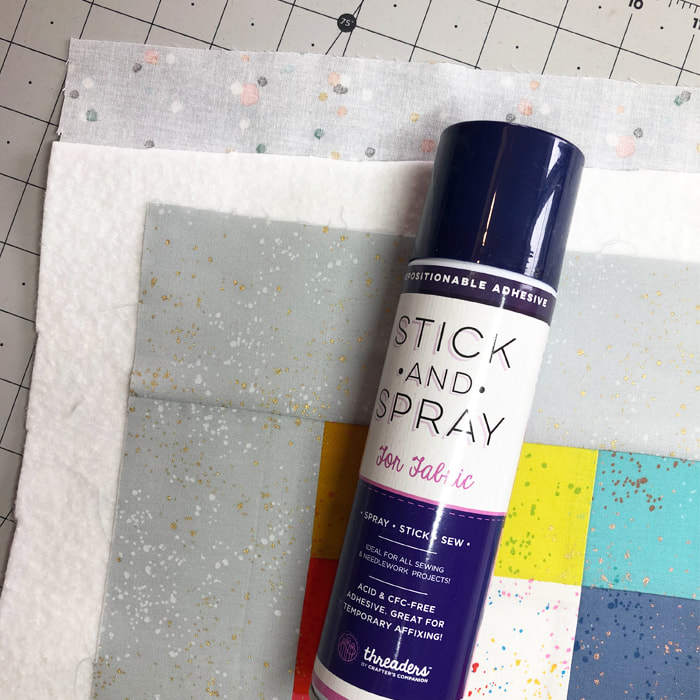
Basting the quilt is simply attaching the three layers of the quilt together, ready for quilting. I am a fan of spray basting, but you can also use curved safety pins if you prefer. The trick to a good quilt basting is lots of pressing, so before you start make sure your quilt top and backing fabric are well pressed. Make sure you read the instructions for your spray basting and use it sparingly, you don't want to over do it.
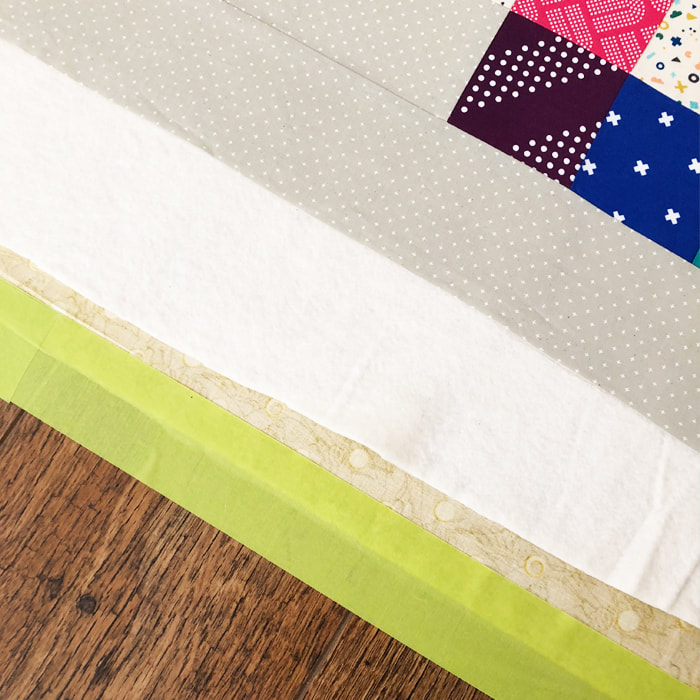
STEP 1 - Place the backing fabric wrong side up on a flat surface. If the quilt is large then I would use some painters masking tape to stick the edges down and keep the fabric nice and taut. (For this baby quilt I didn't I just made sure that I pressed it well after basting.) STEP 2 - Lay the wadding on top and smooth out. Lift the first third of wadding up and spray a little basting spray on to the backing fabric. Place the wadding back down and then smooth out really well, smoothing from the middle to the edges, to get rid of any creases. STEP 3 - Once the first third is basted down then lift up the rest of the wadding and spray the next third, repeating the smoothing out process. Repeat again until all of the wadding is basted to the backing fabric. |
STEP 4 - Place the quilt top, face up, on top of the wadding, making sure there is an inch (or two) extra wadding showing on each side. Repeat the same spray basting as above, carefully smoothing out the top.
STEP 5 - Give the quilt sandwich a really good press, especially the back. This will help to set the spray and ensure that you aren't quilting creases into the back
STEP 5 - Give the quilt sandwich a really good press, especially the back. This will help to set the spray and ensure that you aren't quilting creases into the back
Quilting Time
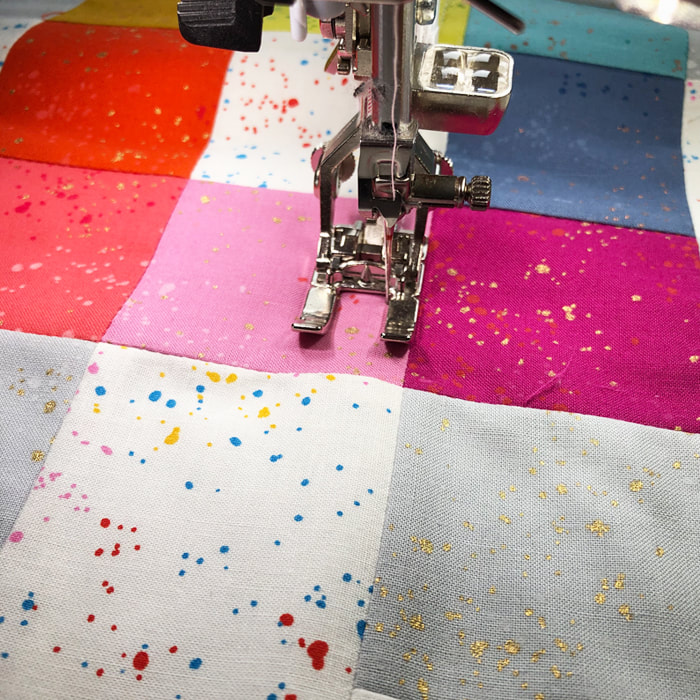
I'm a big fan of 'straight line quilting' using my walking foot, alternatively you may like to try some Free Motion Quilting. For this quilt I have kept it nice and simple with straight lines, using the side of my foot as a guide. Her are some of my tips:
- Make sure you have pressed the quilt well, and don't be shy of giving it presses in between doing the quilting lines.
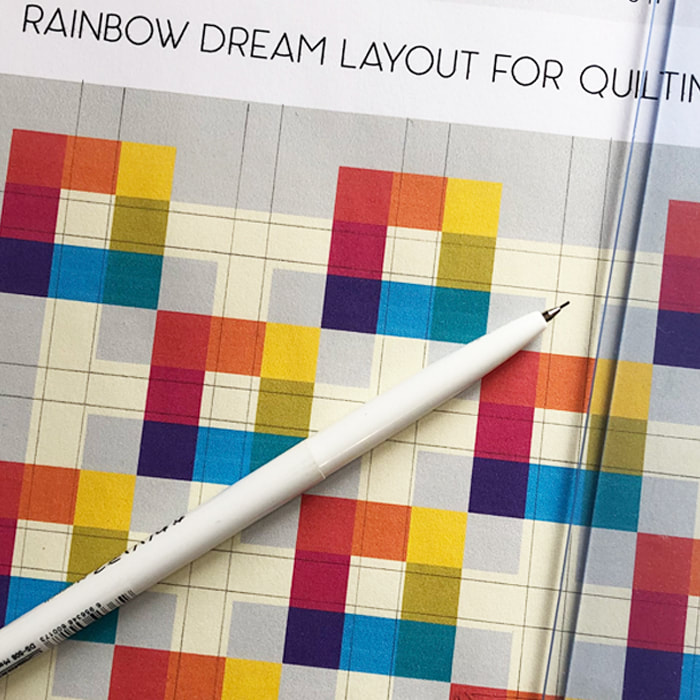
- Make a quilting plan - I printed out a layout of the quilt (there sis a PDF above) and then used a pencil and ruler to plan out my lines. Obviously it's not exactly to scale but it does help to see how it might work across the quilt.
- It's always easier to start and finish the quilting lines off the quilt top (in the wadding). This means you don't need to tie off your lines and bury your threads. Keep this in mind when making a plan.
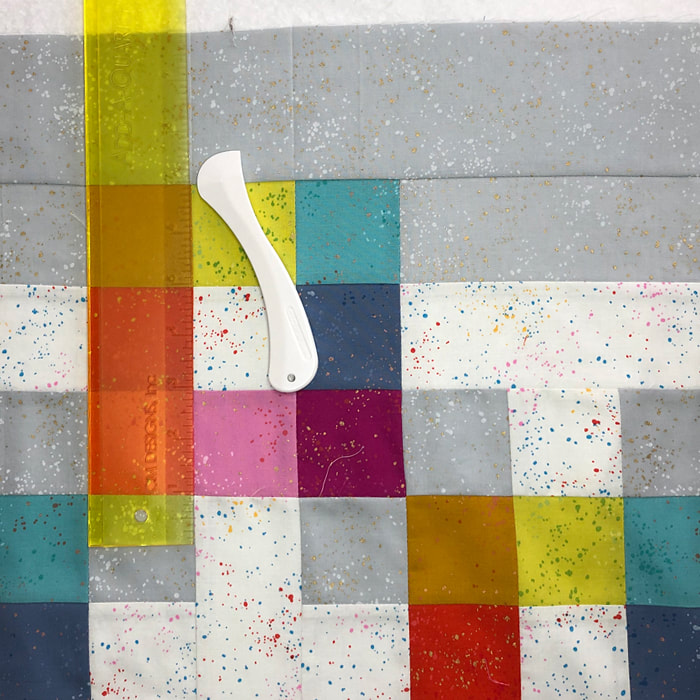
- If using the design of the quilt as a guide and where there aren't any seams, use a temporary marker to extend the lines. I've used a Hera Marker to mark a crease in the border that extends the lines of the seams that I will be echoing.
- Use the edge of your walking foot as a guide, lining it up with the seam. Move the needle over so that you get the ideal distance from the seam and make your stitch length a big longer (3.2 for me). My machine has a Dual Feed function so I use a normal foot with this engaged, but for bigger quilts I use my walking foot.
- Make space around you, this is especially important for bigger quilts. You don't want the quilt to get caught whilst quilting as you will get super small stitches as it won't feed through correctly.
- Go Slow!!! It's called a walking foot for a reason, let it walk. This is probably one of the best tips for a good straight line with even stitches.
- Start from the centre lines and then move out, this helps with smoothing out the quilt.
- Do the simple lines first, you can then always add some extra features in.
Binding Time
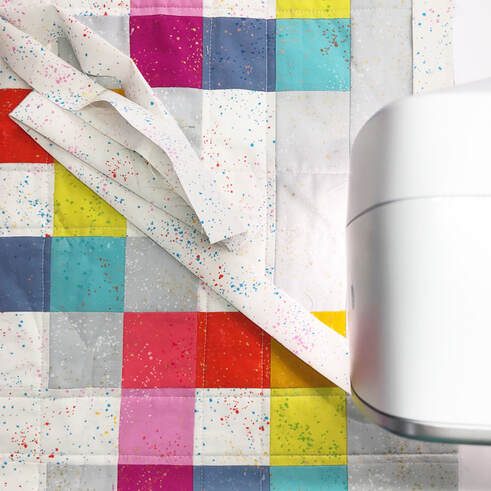
I bind using straight cut binding (not bias), using strips of fabric cut, joined and then folded in half once. I've used 2¼" strips for this quilt, for larger quilts I cut my strips at 2½". For the baby size version you will need (x4) 2¼" WOF strips.
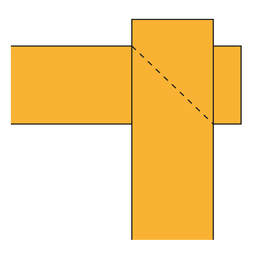
STEP 1 -To join the strips together, place one strip end at a 90-degree angle with the end of another strip, RST. Draw a 45-degree line from the top left corner to the bottom right where the strips meet. (fig 1)
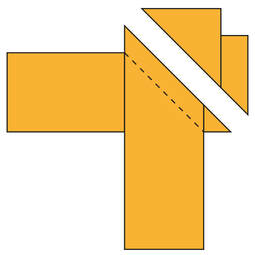
STEP 2 - Sew along the diagonal line and then trim away the excess from the corner (fig 2).
STEP 3 - Continue until all strips are joined together and then fold the binding in half lengthways, Wrong Sides together (WST) and iron.
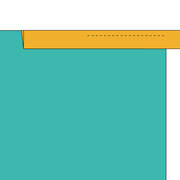
STEP 4 - Starting about a third down from a corner and leaving approx. 6” to 8” of binding loose match up the raw edge of your folded binding with the edge of the quilt sandwich. Use a ¼” seam to sew the binding to the quilt, making sure you sew backwards at the start of the seam to lock your stitches. (Fig 3)
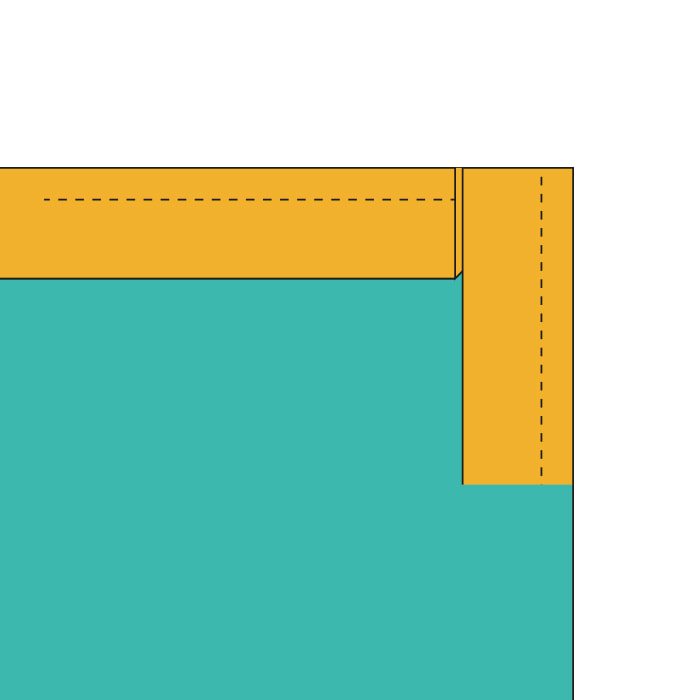
STEP 5 - When you get to a corner stop ¼” from the edge and backstitch to lock your stitches before cutting your threads. Rotate your quilt sandwich so the next edge is on the right-hand side. Fold the binding upwards past the quilt sandwich. (Fig 4)
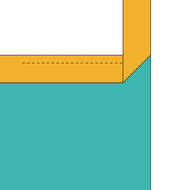
STEP 6 - Fold back the binding strip towards you, which will give you a folded triangle in the middle. Start sewing ¼” from the top edge, backstitching again to lock stitches. Carry on until the next corner and repeat. (fig 5). Once you get back to the beginning stop approx. 12” from the start and backstitch.
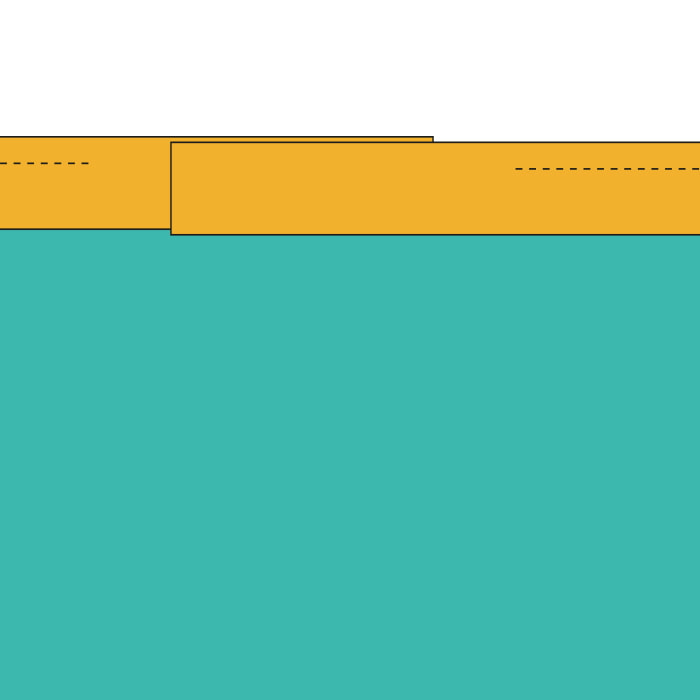
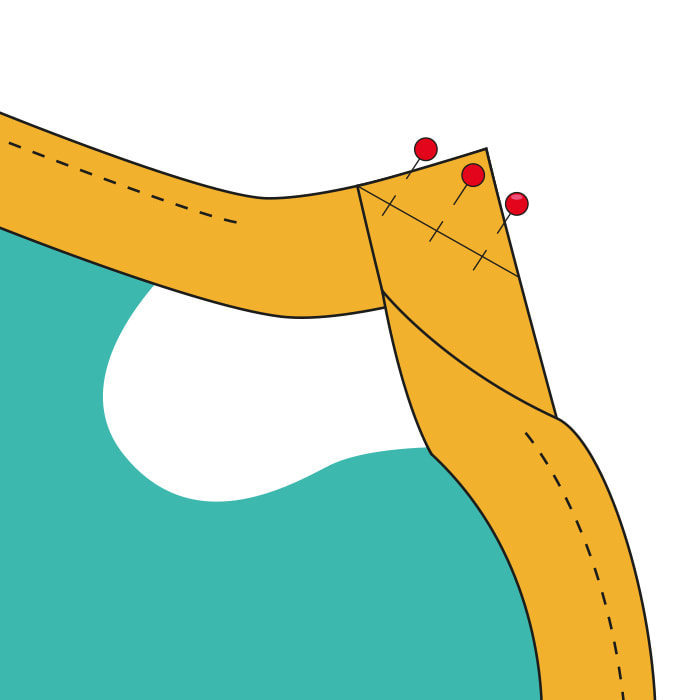
STEP 7 - Cut the end of the last binding strip so that it overlaps the starting piece by 2¼”, or the starting width of your binding if you used a different size of binding strips. (fig 6)
STEP 8 - Open the binding strip and match up them up RST at a right angle. Draw or mark a diagonal line from one corner to the other and then pin in place. (fig 7)
STEP 9 - Sew along the marked line to join the binding strips and then cut away the excess triangle by trimming ¼” away from the sewn line.
STEP 10 - Press the seam open and then re-fold the binding. Match up the raw edges of the binding with the outer edge of the quilt and then sew down with a ¼” seam to finish.
STEP 11 - To finish the binding simply fold the binding over to the back edge and slip stitch in place.
Congratulations you all all finished!
I really hope you enjoyed this sew along, check out my book 'Modern Rainbow Patchwork Quilts' for more Rainbow inspired makes.
I really hope you enjoyed this sew along, check out my book 'Modern Rainbow Patchwork Quilts' for more Rainbow inspired makes.

