Cutting Out & Strip Making
Cutting Instructions |
Videos and helpful resources
|
|
OK so let's get cutting out. If you are new to quilting then do check out my video on cutting strips for some tips. If you are ready to cut then this is what we need:
From each of the eight rainbow fabrics, cut:
Before we start with the strip sets, take two each of the Grey and White Strips and cut (6x) 2½" x 6½" rectangles from each strip. You should then have 12 grey rectangles and 12 white rectangles. Save these for next week. |
Getting Organised
Your rainbow order might be different from mine and we want to make sure that you get them in the correct order for you. So, once you have all of your strips cut, place the strips into rainbow order and then label them A to H. 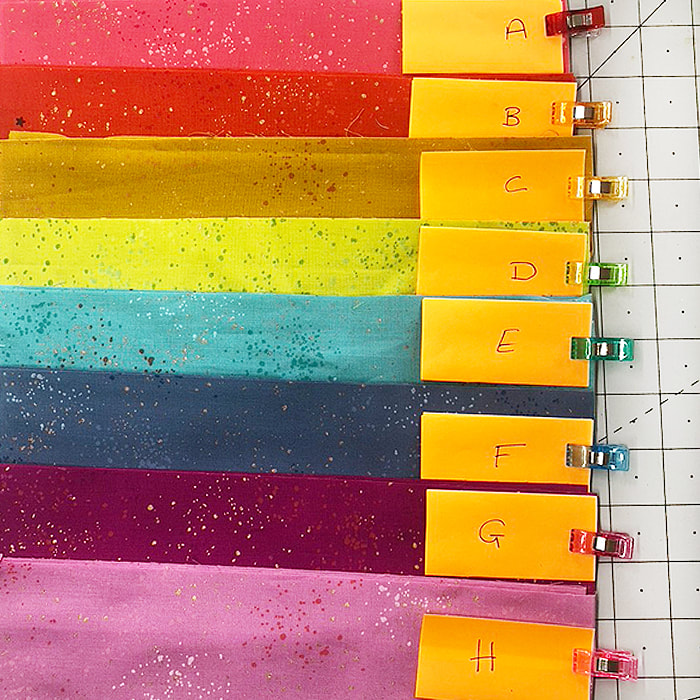
|
Sewing the Strip Sets
Creating the strips is nice and easy just keep a goof steady ¼" seam. The combinations of strips is below, but here is a detailed run down of how I put the first strip set together for A - B - C.
- Start by placing the first two strips (A & B) Right Sides Together (RST) and matching up the long edges, you can either pin or clip in place.
- Line up the strips with the edge of your ¼" sewing foot and then sew all the way down the long edge. (fig 1)
- Open out the two strips (fig 2) and then place the third strip (C) face down lining up the edge of the third strip with the edge of the middle strip (B). (fig 3)
- Sew along the long edge with a ¼" seam as before. Open out the strip (fig 4)

Fig 1
|
Fig 2
|
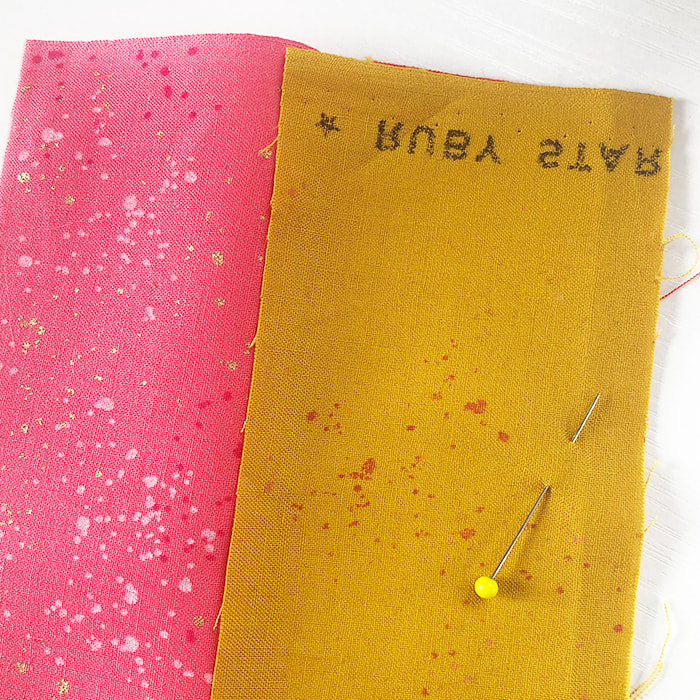
Fig 3
|

Fig 4
|
STEP 1 - Create the strips for each of the three colour ways below, by sewing the three strips together along the long edges in the order stated. For the 'H - White - D strip' you will need to cut a white strip in half so that you have two lengths that are the same as the colour pieces (approx 20").
STEP 2 - Once you have sewn the strips, press the seams in the following ways, this will make it easier when we piece the blocks later:
- (x2) Strip Set 1 > A - B - C
- (x2) Strip Set 2 > H - White - D
- (x2) Strip Set 3 > G - F - E
STEP 2 - Once you have sewn the strips, press the seams in the following ways, this will make it easier when we piece the blocks later:

Strip 1 > Press down from A to C
|
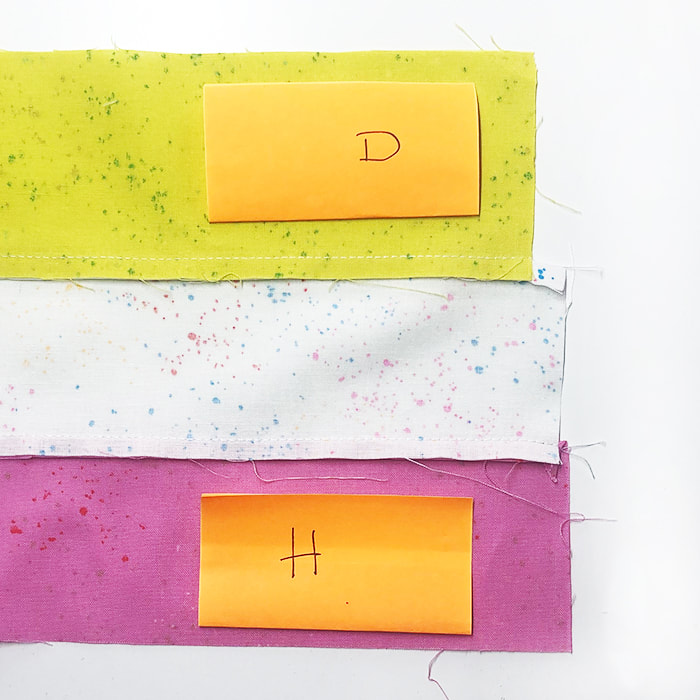
Strip 2 > Press down from D to H
|
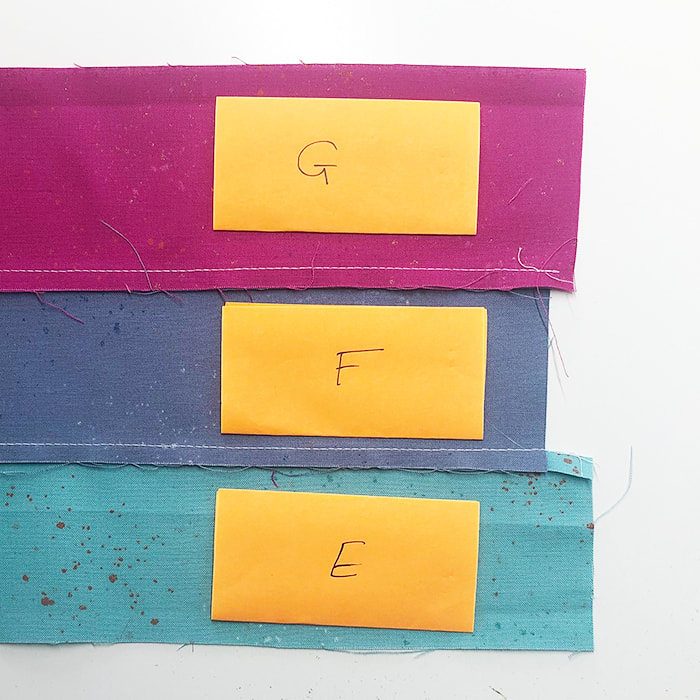
Strip 3 > Press down from G to E
|
STEP 3 - Using the Grey and white long strips (approx 40"), make the following and press the seams from grey to grey.
- (x1) Strip Set 4 > Grey - White - Grey
Making Slices ...
STEP 4 - The last part for this week is to take the strips we have sewn and then slice them into 2½" widths.
- Take a A - B - C strip and place on the cutting board. Working on the short edge, without the selvedge, line up a line on your ruler with one of the seam, so that we can trim away some excess and have a nice straight line to work with. (fig 5 & 6)
- Now rotate the strip so that you are ready to cut from this nice straight edge. Place the ruler over the end so that 2½" is covered. (fig 7)
- Carefully cut along the side of the ruler and you will have one 2 ½" slice. (fig 8)
- Continue cutting slices from the strips, until you have the number needed, which are below.

Fig 5
|
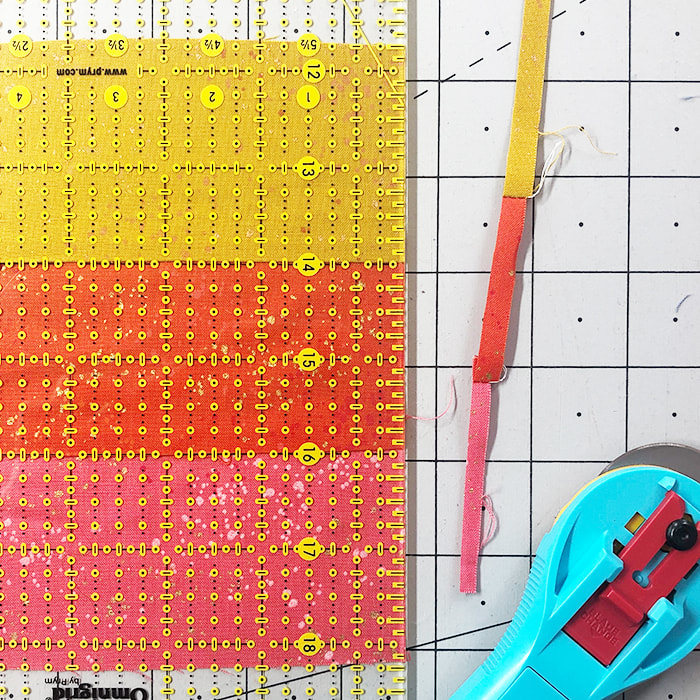
Fig 6
|
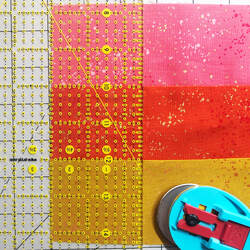
Fig 7
|
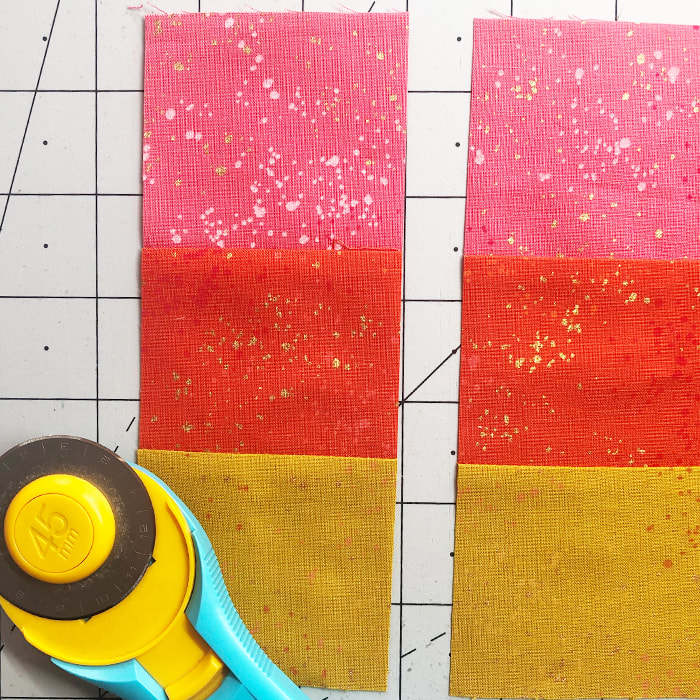
Fig 8
|
Slices Needed:
- 13 Slices from Strip Set 1 (A - B - C)
- 13 Slices from Strip Set 2 (H - White - D)
- 13 Slices from Strip Set 3 (G - F - E)
- 16 Slices from Strip Set 4 (Grey - White - Grey)
|
Come Back next week and we'll be putting the blocks together and finishing the top.
In the meantime any questions, just send me a message. |